Monthly Archives: February 2016

Trophies II or Bowling along…

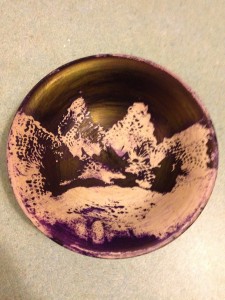
Almost as an aside while making the copper “cups”, I had been working on turning a wooden bowl with thoughts of decorating it with a lace pattern.  To make a complete entry, I’ll carry on to completion, which occurred in early January.

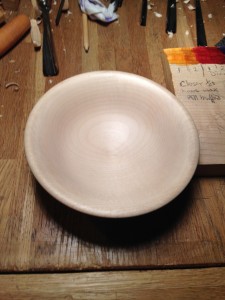
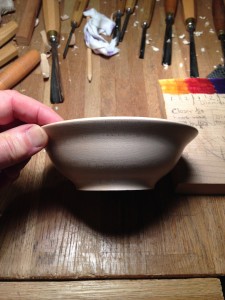
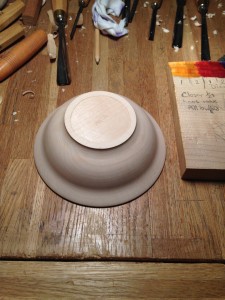
The wood was rippled sycamore that I hd bought a year or two back and by early December it was like this.

IMG_5017IMG_5018IMG_5020


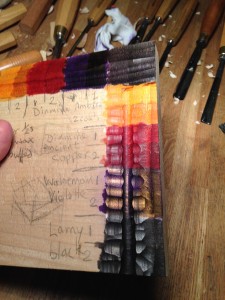
I hope that you can see it looks a bit like a large rice bowl and that the wood is pale [although, like all woods, it will oxidise and become darker over time].  With regard to the colour, to bring out a lace effect I had been thinking of blueprint dying [sun and ferrocyanide] but found that it is an unstable dye and somehow getting a resist on the lace, print the resist on the bowl and paint with ink. So, here’e the trial scrap of wood with the various inks on with grain and cross grain cuts  to see how they fared.

IMG_5024

The old violet had developed a burnished appearance and so I chose that – but how to get a “positive” print of the lace on the wood?  Asked the printing department and the fashion department too; nice enthusiastic people but problem still there.  Under my nose, as it were, was the water-based wax resist for ceramics.  Not solved yet as the lace is flat, the bowl is curved and resist will drip but also dries quickly.  I then had a cunning plan – cover the inside of the wooden bowl with cling film and build a papier-mâché form.  When that is dry, cover it with cling film and then arrange the resist coated lace on it.  When happy with the arrangement, place the bowl on top and gently force contact as best as possible trying not to smear or miss an area. Applying the lace to the outside of teh bowl was a lot easier. I did the “printing” at college and it had plenty of time to dry while as I took it home to apply the ink.
IMG_5230

IMG_5495IMG_5496Now I’m stuck with trying to find if there is a way of keeping the burnished effect form the ink and not lose it by applying a sealant, oil, or wax.  For the time being it will sit “bare” and come out for the tutors to consider when they look at what I’ve been doing along the path to one or more trophies.

Vincent
Trophies

The next project was to produce several designs for trophies which could be awarded to people who had made significant contributions to social networks via the web.  In discussion of the project there was reference to may be making trophies for those who did not deserve praise.

Well, I had a thought about bankers and how they use the net to their own purposes.  Probably they should have an award which offers nothing.  From that I thought of making a small hollow sphere in copper, coating the inside with lamp black and have a viewing hole – look inside and see nothing.

I cut two squares of copper sheet and set about annealing them and beating them into shape.  Annealing is a great process as it make the metal very workable but, as you work it, the metal hardens again. All you do is heat the metal so it glows a cherry red colour, then quench it in water [quicker than waiting for it to cool].  The heating causes oxides to form on the surface and they need to be removed by a process called “pickling” – the workpiece sits in a bath for a few minutes and the oxides come off.  If you don’t remove the oxides, they get beaten into the metal on the next round of hammering and will be difficult to remove at a later date.

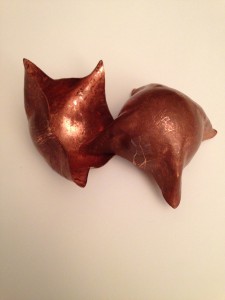
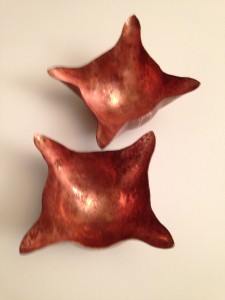
Unfortunately, I haven’t got any picture of doing the process or the pieces as they developed – the video files are too big.  I had made an “error” by not starting with circles of flat sheet so I ended up with these

IMG_5476 IMG_5477

You can se that the “corners” have formed flutes on the cups which are pretty round.  I have abandoned the sphere for the Bankers idea but what can I use these shaped bits of copper for…..?

More for another day! Vincent

Cuttlefish casting

No, not casting cuttlefish but using their unique internal shell, the cuttlebone, to make small casts.

Thousands of years ago, someone worked out that the cuttlebone is easy to carve and will take fine lines, it’s slow to transmit heat and is cheap – if you live near the sea.  We know because very old jewellery has the characteristic wavy pattern generated by the fine structure of the cuttlebone.

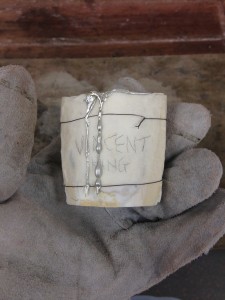
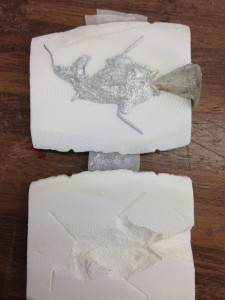
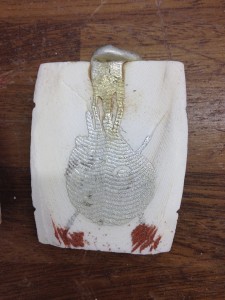
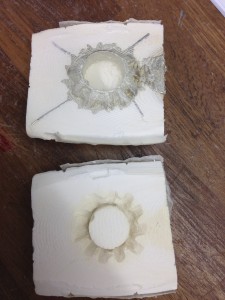
There’s a bit of getting abutting surfaces flat, making sure that the carved portions line up and there are some “runners” and “risers”, which help the metal flow.  Here’s one poured before opening and ‘open’, you can see the grooves for those “runners” and “risers”.IMG_4989IMG_4988

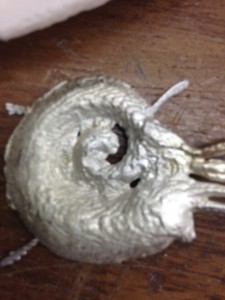
There is only a little bit of fishy smell as we cast pewter but I’m told that hotter metals cause more of a stink.  Generally, they are “one off” copies.  Being marine and a cephalopod, I decided to cast a fish as the first ‘carve only one side’ piece, and a sort of nautilus as the third piece [the red is fine casting sand to stop leaks of metal – it all drained out on first pour!].  You can clearly see the wavy pattern of the cuttlebone in the cast on the left and it gives the texture in the right photo [sorry for quality].

IMG_4999IMG_5002

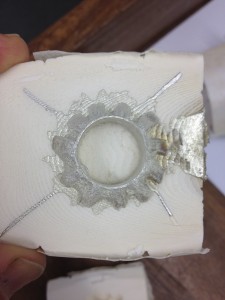
The ring was a have a go, experiment with shape – don’t think I’ll get anyone to wear it [but I am definitely going to use the technique again!].

IMG_4991IMG_4990

Next, I think it might be working copper or wood……